[Feedback][Day 1][Day 2][Welcome Page]
![]()
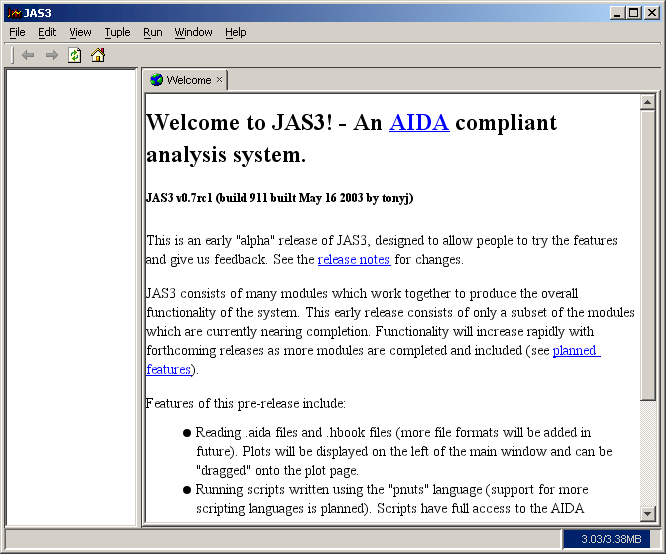
These instructions assume that you have already successfully completed tutorial 1, Installing JAS3 and the LCD extensions. Once you have started JAS you should see a window that looks something like this.
The first thing to do is to open a data file. The LCD experiment uses .sio files (serial IO files), .lcio files (a newer version of the SIO files) to store fully simulated events and .stdhep files to store MC generated data. You can download some .sio files from here. To open the file just use the "File", "Open File..." menu item. Once you have loaded the file a new "DataSets" node will appear in the JAS tree, as well as a new toolbar:
![]()
You can use this toolbar, or the "Run" menu to navigate through the events:
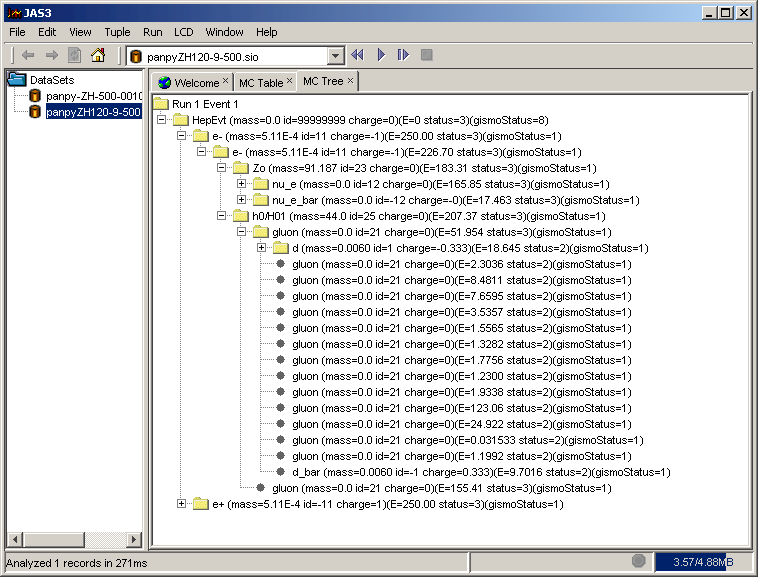
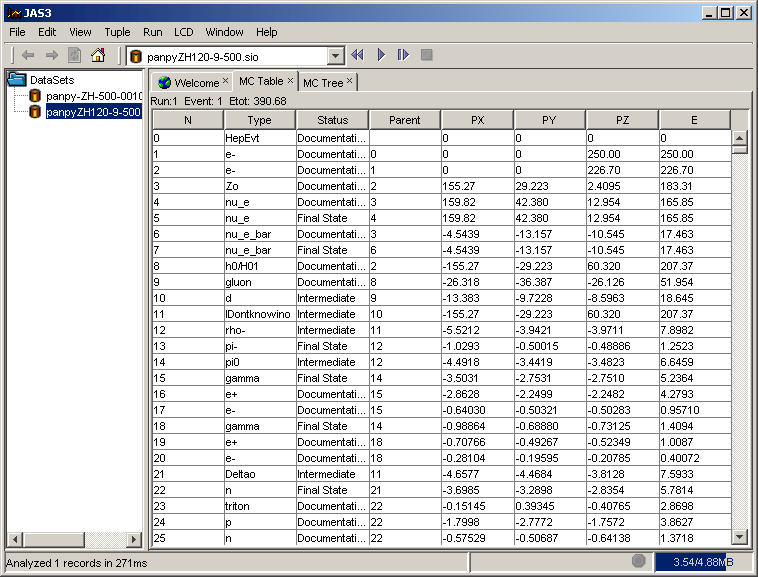
The LCD extensions to JAS contain a number of tools for looking at events.
Two simple tools are the MC Particle Tree, and the MC Particle Table, both of
which can be turned on and off from the LCD menu. Before you will be able to see
anything interesting you will need to step to the first event, either by using
the Run, Go 1, menu item, or by pressing the
![]() button on the JAS toolbar.
button on the JAS toolbar.
Note: JAS allows you to have any number of datasets open simultaneously. They will all appear in the tree on the right under the heading "Record Sources". At any time one of these datasets is considered to be the "Current Record Source". The current dataset can be selected by "Right Clicking" on the icon corresponding to the dataset in the tree, or by selecting the dataset from the dropdown list in the JAS Run toolbar. The Go 1, Go and Rewind functions always operate on the current dataset.
Once you have stepped to the first event and turned on one or both of the displays you should be able to see something like this.
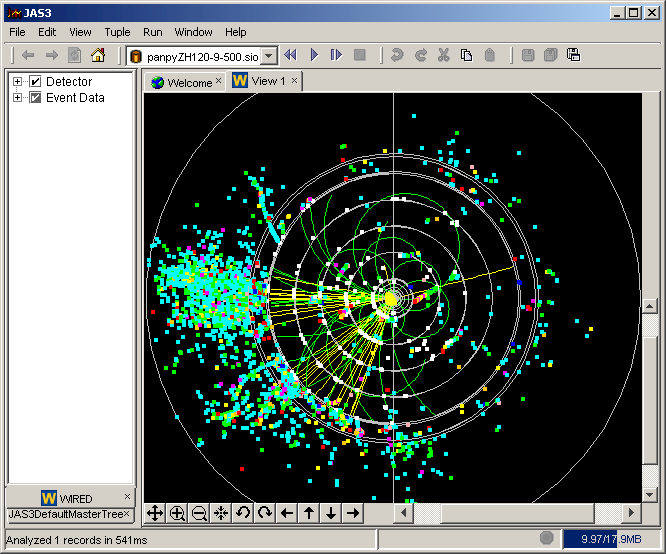
The WIRED event display is an experiment-independent Java-based event display. It has a lot of functionality built-in and is easy to customize. To open a WIRED event display use the "File", "New", "LCDWired View..." menu item. Now use the "Run", "Go 1" command to step to the first event. You should see something like this:
You can control the WIRED event display in several ways:
The WIRED event display has too many features to describe in detail here, but if you experiment you should be able to figure it out for yourself.
Note: If you look in the Wired tree, you will notice two entries for MC tracks, one labeled "flipped". This is because there is a bug in the Gismo simulation used to generate events, which causes Gismo to swim MC tracks as if they had their sign flipped. If you want the MC particles shown on the Wired event display to actually go through the hits, you will need to turn on the "flipped" MC tracks. This will be fixed at some point in the future.
When you are done playing with the event display you are ready to proceed to the next tutorial.